I’ve only made a few pies in my time, despite my overwhelming love of pie, and those have always been made using the go-to cheater’s guide to pastry: Jus’ roll. But this time, I thought I’d have a go myself.
I was aiming for puff pastry but I’m quite heavy handed so it turned into some form of shortcrust pastry. Either way, it was damned delicious and I’m never buying pre-fab pastry again.
To make my deep-fill pie, you will need:
225g plain flour
1/4 teaspoon of salt
250g salted butter (you could use unsalted, but why would you?)
150ml of cold water
Diced beef
Mushrooms, sliced
Beef stock
Making the pastry
Mix the flour and salt together in a bowl then put in the fridge for a few minutes.
Cut the butter into cubes, then add to the flour and mix until coated.
Pour over the water slowly and mix together. It should form a rough dough. Place on a surface and form into a sausage shape, without kneading it. Wrap in clingfilm and put in the fridge for 20-30 minutes.
Once chilled, lightly flour a surface and roll out the dough into a rectangle shape. You are now going to make a square out of a rectangle; fold one-third of the pastry into the middle, then last third into the middle. Press down at the edges.
Now roll out again, and fold, twice more. Place in the fridge for an hour.
The filling
Whilst the pastry is in the fridge, brown the beef on a high heat.
Add the mushrooms, finely sliced, and stir.
Finally, add some beef stock and remove from the heat.
Pie time!
Take the pastry out of the fridge and roll out to fit your pie dish.
Line your pie dish, leaving enough pastry for the lid.
Add your filing. As I left my beef quite dry and made up some quick, thick gravy using granules and poured a little on top. If you have a wet mix, don’t do add any more gravy/water.
Finish your pie by folding the pastry over at the edges and seal with some milk.
I honestly have the memory of a goldfish. I’d completely forgotten to share my bread recipe with you all and let you know the results of our little village fete a couple of weeks ago!
The fete was far better than we imagined it would be for such a small village. There were over one hundred entries and at least 5/6 in each category. We were quite proud to have taken part! The main contenders were in the popular categories as you’d expect – there were no fewer than 13 Victoria sponges. In the amateur-baker category of ‘artistic cake’, were these stunning bakes:
I loved looking at all the vegetables though – there were leeks as thick as my arms and runner beans nearly 2 feet long. It really inspired me to get growing my own vegetables once we’ve moved house – there is just nothing like fresh home-grown produce really.
Anyway, we didn’t win the cookie nor the bread categories.
Can you spot ours?
I was a bit annoyed as the cookies were lumped in the same category as biscuits, and biscuits placed in all three top spots despite there being several cookie entries. I think the judges were probably traditionalists and not on the cookie band-wagon.
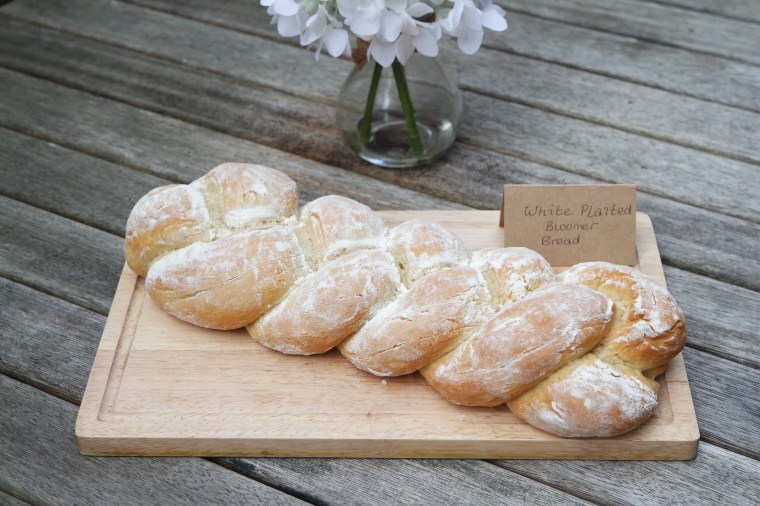
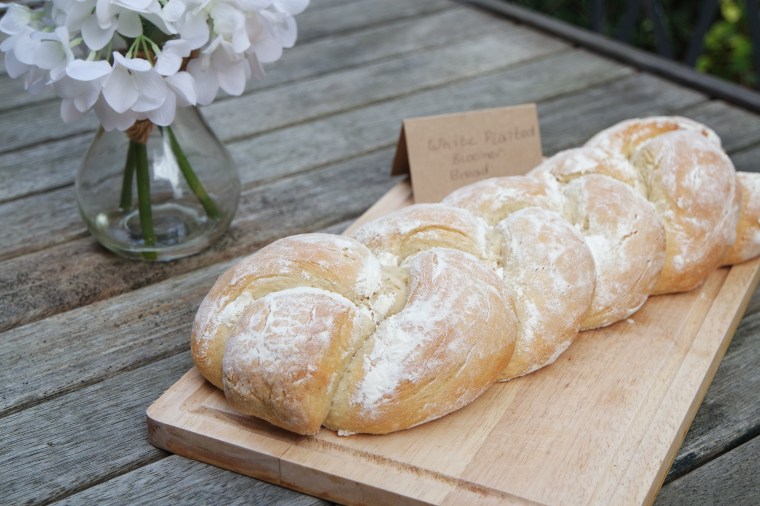
Whilst we are of course slightly biased, the bread was definitely the most eye-catching entry and when we collected it at the end many people came up to us and said we should have won. We won The People’s Choice Award in my opinion given all the amazing comments we had!
So, if you want to make bread that looks a bit like this, follow our easy recipe below.
You will need:
500g flour
Teaspoon of salt
Instant yeast
30g butter
320ml water
Baking time!
Mix the flour, salt and yeast together in a mixing bowl.
Add the butter and about ¾ of the water and carry on mixing together, adding the remaining water as you go. The dough should be soft and not too wet when its ready.
Now cover your table with a bit of flour and start to knead the bread. I find kneading quite hard – I think you need strong arm muscles to do it properly! I find circular motions are easier and most effective, but whatever works for you. Knead for about 10 minutes until the dough is malleable and smooth.
Now to prove it. Place in a bowl and cover with cling film or a tea towel or anything similar. Leave it on the side for a couple of hours until the dough has nearly doubled in size (some people I know put theirs in the fridge but I don’t think that works as well). Towards the end of the prove, start to preheat your oven to 220 degrees.
Put some flour on your kitchen table and place the dough on top and start to roll. BE CAREFUL – I find the harder/more I roll the less air is in the bread and it becomes more dense. This is less so if you are using proper white bread flour, but not if you are using a standard white flour. Roll into a long-ish rectangle and then divide length-ways into three sections.
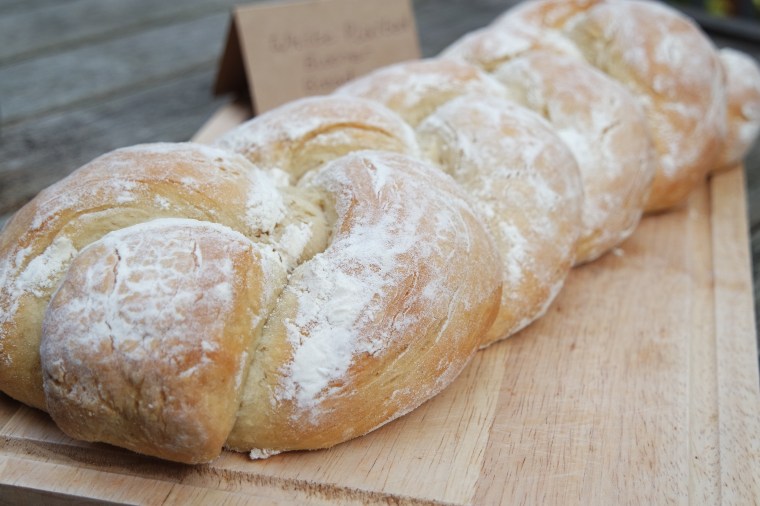
Those three sections will form the plait. If you don’t know how to plait, you simply place the outside strands into the middle of the other two strands, working from side to side; line up the three strands and then pull the 1st far-left strand into the middle between strands 2 and 3. Now, pull the now-3rd strand into the middle of strands 1 and 2. And repeat. Try to keep the plait fairly tight so there are not large holes. At the bottom and top simply tuck the strands together and underneath itself.Some people plait bread differently by only plaiting half way and then turning the dough over and finishing the plait. Apparently this gives the bread a bit of stability but I personally do not notice any difference in the bake. I have long hair and plait it all the time – maybe I’m a pro-plaiter!
Depending on the size of your loaf you may need to prove it again for another hour. See below for an alternative to this.
Next, line a tray with some baking parchment – I like to butter the tray first but I think that’s just because I can be quite clumsy! Place your bread on the tray and bake in the oven for about 30 minutes at 220 degrees. I like to dust some flour on top beforehand but its up to you.
Then leave to cool on a rack for 10 minutes and enjoy whilst its still warm!
Whilst the dough needs proving as at step 4, I’ve found that proving the three individual strands of the plait separately works a bit better – however you need to keep them straight on a flat surface and sometimes the strands may swell more in certain places. I will leave it to you to decide!