Having recently moved from a 2-bedroom house to a 4-bedroom house, our priority was to ensure that we had as much storage space as possible from the get-go, so that we didn’t waste time and money having to sort things out further down the line.
I was getting quite frustrated with our storage solutions in our previous home; under-bed boxes for gym clothes, jeans and holiday wear, work wear rammed in with other dresses and coats in the wardrobe and a full to bursting chest of drawers with everything else. I felt I wasn’t using half of my things simply because I had to delve in/move boxes around/upend the entire room to get to something. So when we bought our current house I decided it was only fair that if Sam got a double garage that I should have the 4th bedroom as ‘my’ room. And my dressing room was born!
We could have got a pre-fab kit or got a company out to measure up, but we like to do things ourselves and get stuck in. I say ‘we’, Sam did most if not all of the work. I just ordered a chest of drawers and made it look pretty.
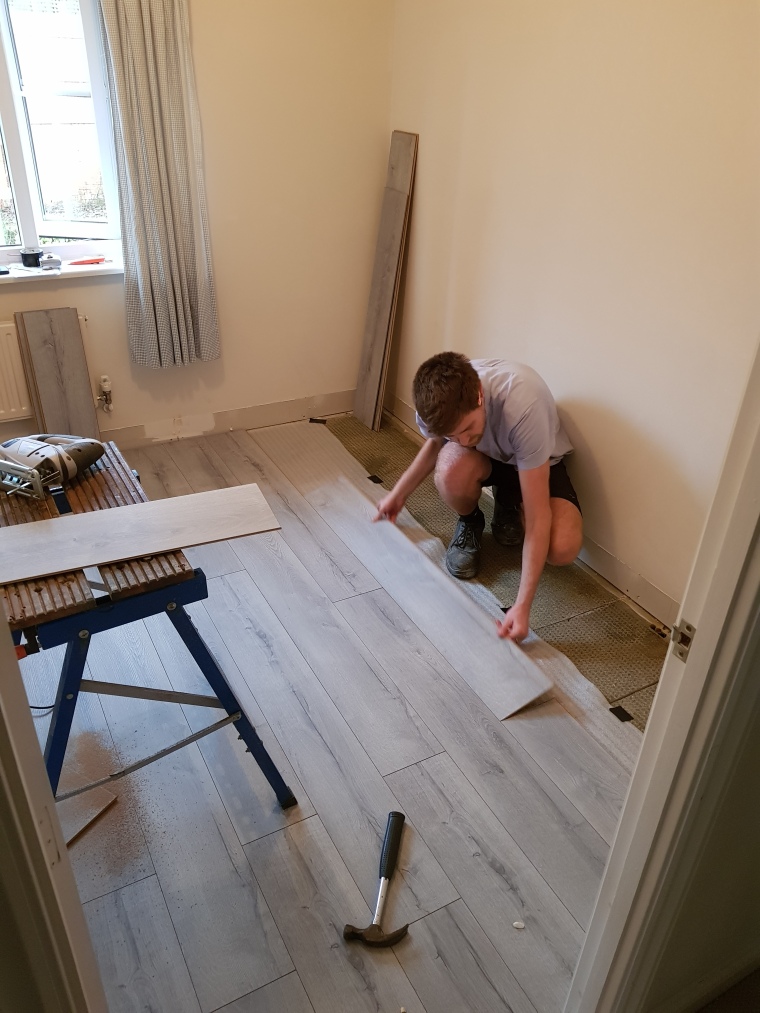
The first step was to rip up the floor (some old pink carpet) and lay down laminate wood flooring. It turned out to be pretty easy as the length of the room was exactly as long as two floor boards. Plus this made it really quick for Sam to cut, so the whole room was laid in 3 hours.

After the floor was down work began on the wardrobe itself. We spent over 2 hours in B&Q buying timber and paint (though they do cut the timber to size for you so that saved Sam even more time).
I should say, probably quite obviously, that we had already designed the layout of the wardrobe and Sam had measured each section of it to within an inch of its life so we knew exactly how much we needed of each item.
I thought it best to have a bottom board to give the wardrobe more stability and also so that it would look more like a wardrobe as opposed to seeing the grey floor at the bottom of it. It worked quite well and has made it look more like a unit and a bit more professional.
Sam began work straight away once we got home, and within a couple of hours it was already mostly together.
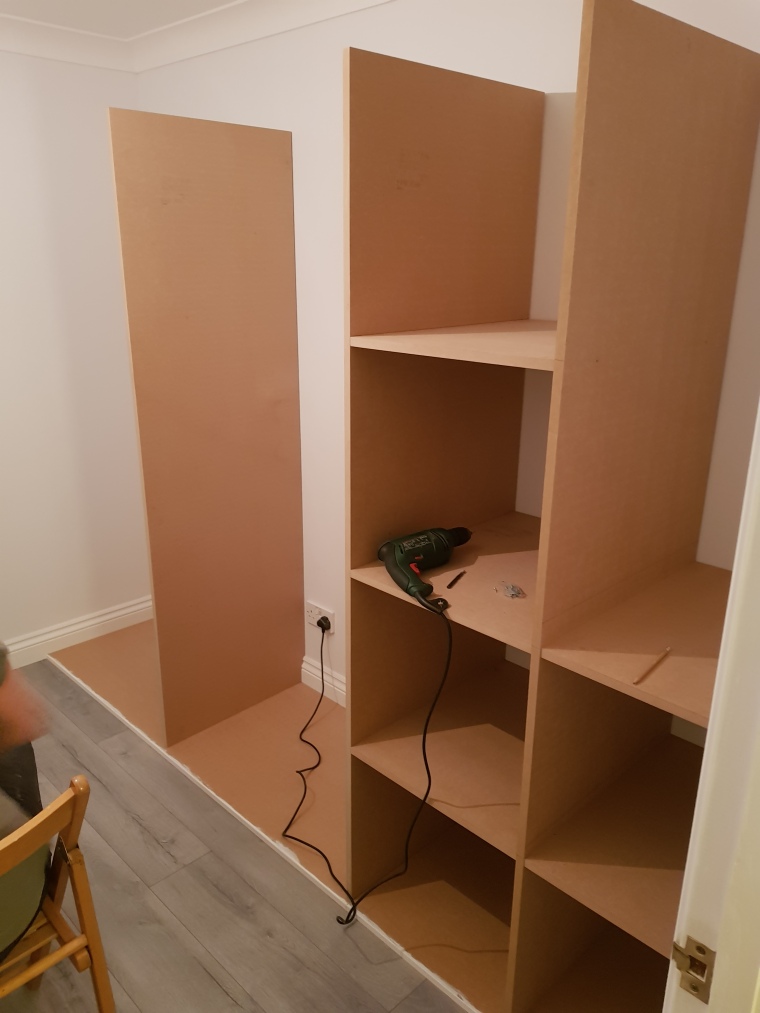
He finished it off the following day by putting the ‘roof’ on it and securing each joint with a corner clip before painting it.
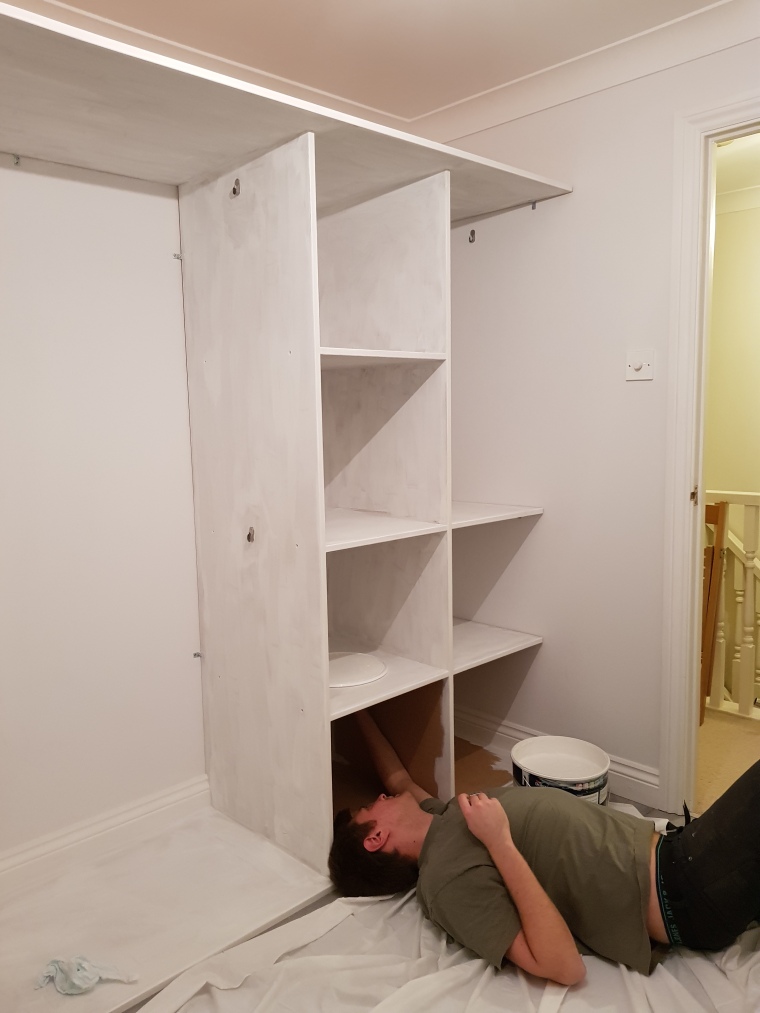
Though getting into the bottom boxes to paint is not easy when you’re 6’4″!
He’s pretty proud of his work though (as am I):
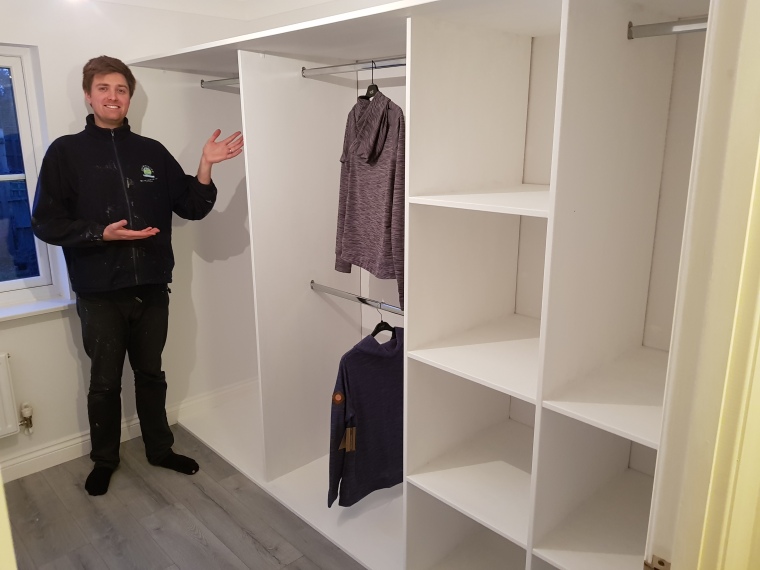
And here it is in all of its finished glory:
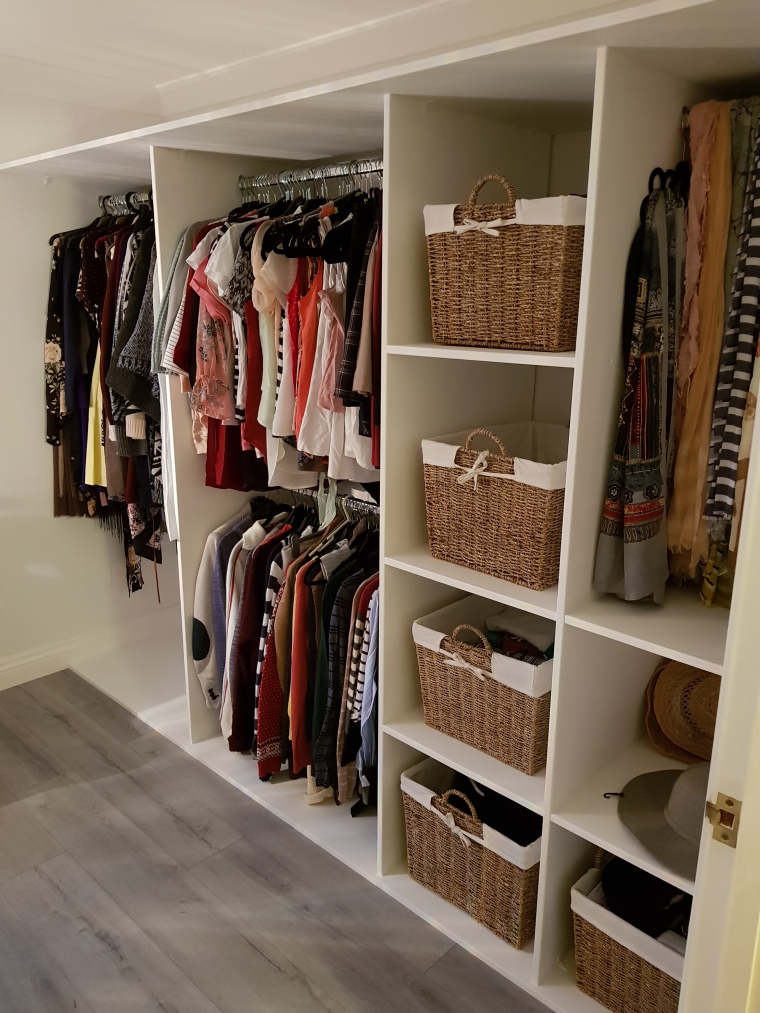
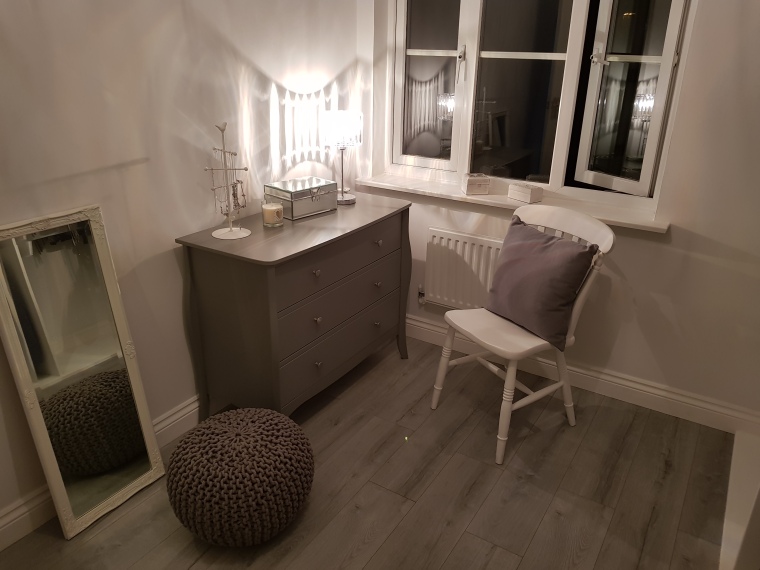
The wardrobe will be covered by a curtain (we’ve just attached the curtain rail), though I need to choose some material for it. I’m thinking mostly white with a grey print of some kind – perhaps a geometric print. I’m not sure though, its something I’ll only be able to decide once I see the fabric in person. The window will have a simple white-ish roman blind on it.
I’m in love with the room! I can’t believe how much the wardrobe holds. And the best part is its all built to our height and the lengths of my clothes. Sam has done a truly wonderful job; not just a pretty face is he! ❤

